
Setup Dynamic Jenkins Agents in Kubernetes
Note This post is part of the DevOps Journey
We want to use a Kubernetes Cluster with Jenkins, so that Jenkins can fire up slaves in the cluster as required and perform the pipeline tasks. Instead of paying a lot of money for the Kubernetes Cluster, we will set it up locally using Kind.
Kubernetes Kind
Install
Install Kind with Homebrew:
brew install kind
Setup the Cluster
Create a yaml config file called kind-config.yaml for kind:
kind: Cluster
apiVersion: kind.x-k8s.io/v1alpha4
networking:
  # WARNING: It is _strongly_ recommended that you keep this the default
  # (127.0.0.1) for security reasons. However it is possible to change this.
  apiServerAddress: "127.0.0.1"
  # By default the API server listens on a random open port.
  # You may choose a specific port but probably don't need to in most cases.
  # Using a random port makes it easier to spin up multiple clusters.
  apiServerPort: 53850
Create the cluster with kind-config.yaml file:
kind create cluster --config kind-config.yaml
Verify the cluster:
kubectl cluster-info --context kind-kind
In Kubernetes, namespaces provide a mechanism for isolating groups of resources within a single cluster.
Create Namespace jenkins:
kubectl create namespace jenkins
A ServiceAccount will allow Jenkins to spin up the required slave pods as needed.
Create a ServiceAccount named jenkins:
kubectl create serviceaccount jenkins --namespace=jenkins
Create a token for the ServiceAccount created above, this token will be used in the Jenkins for authentication:
kubectl create token jenkins --duration=999999h --namespace=jenkins
 Copy this token, we will use it later in Jenkins.
Create admin role for the ServiceAccount:
kubectl create rolebinding jenkins-admin-binding --clusterrole=admin --serviceaccount=jenkins:jenkins --namespace=jenkins
Kubernetes cluster is setup to be used in Jenkins now.
Jenkins Setup
Now we’ll configure Jenkins to use our Kubernetes cluster for dynamic agent provisioning.
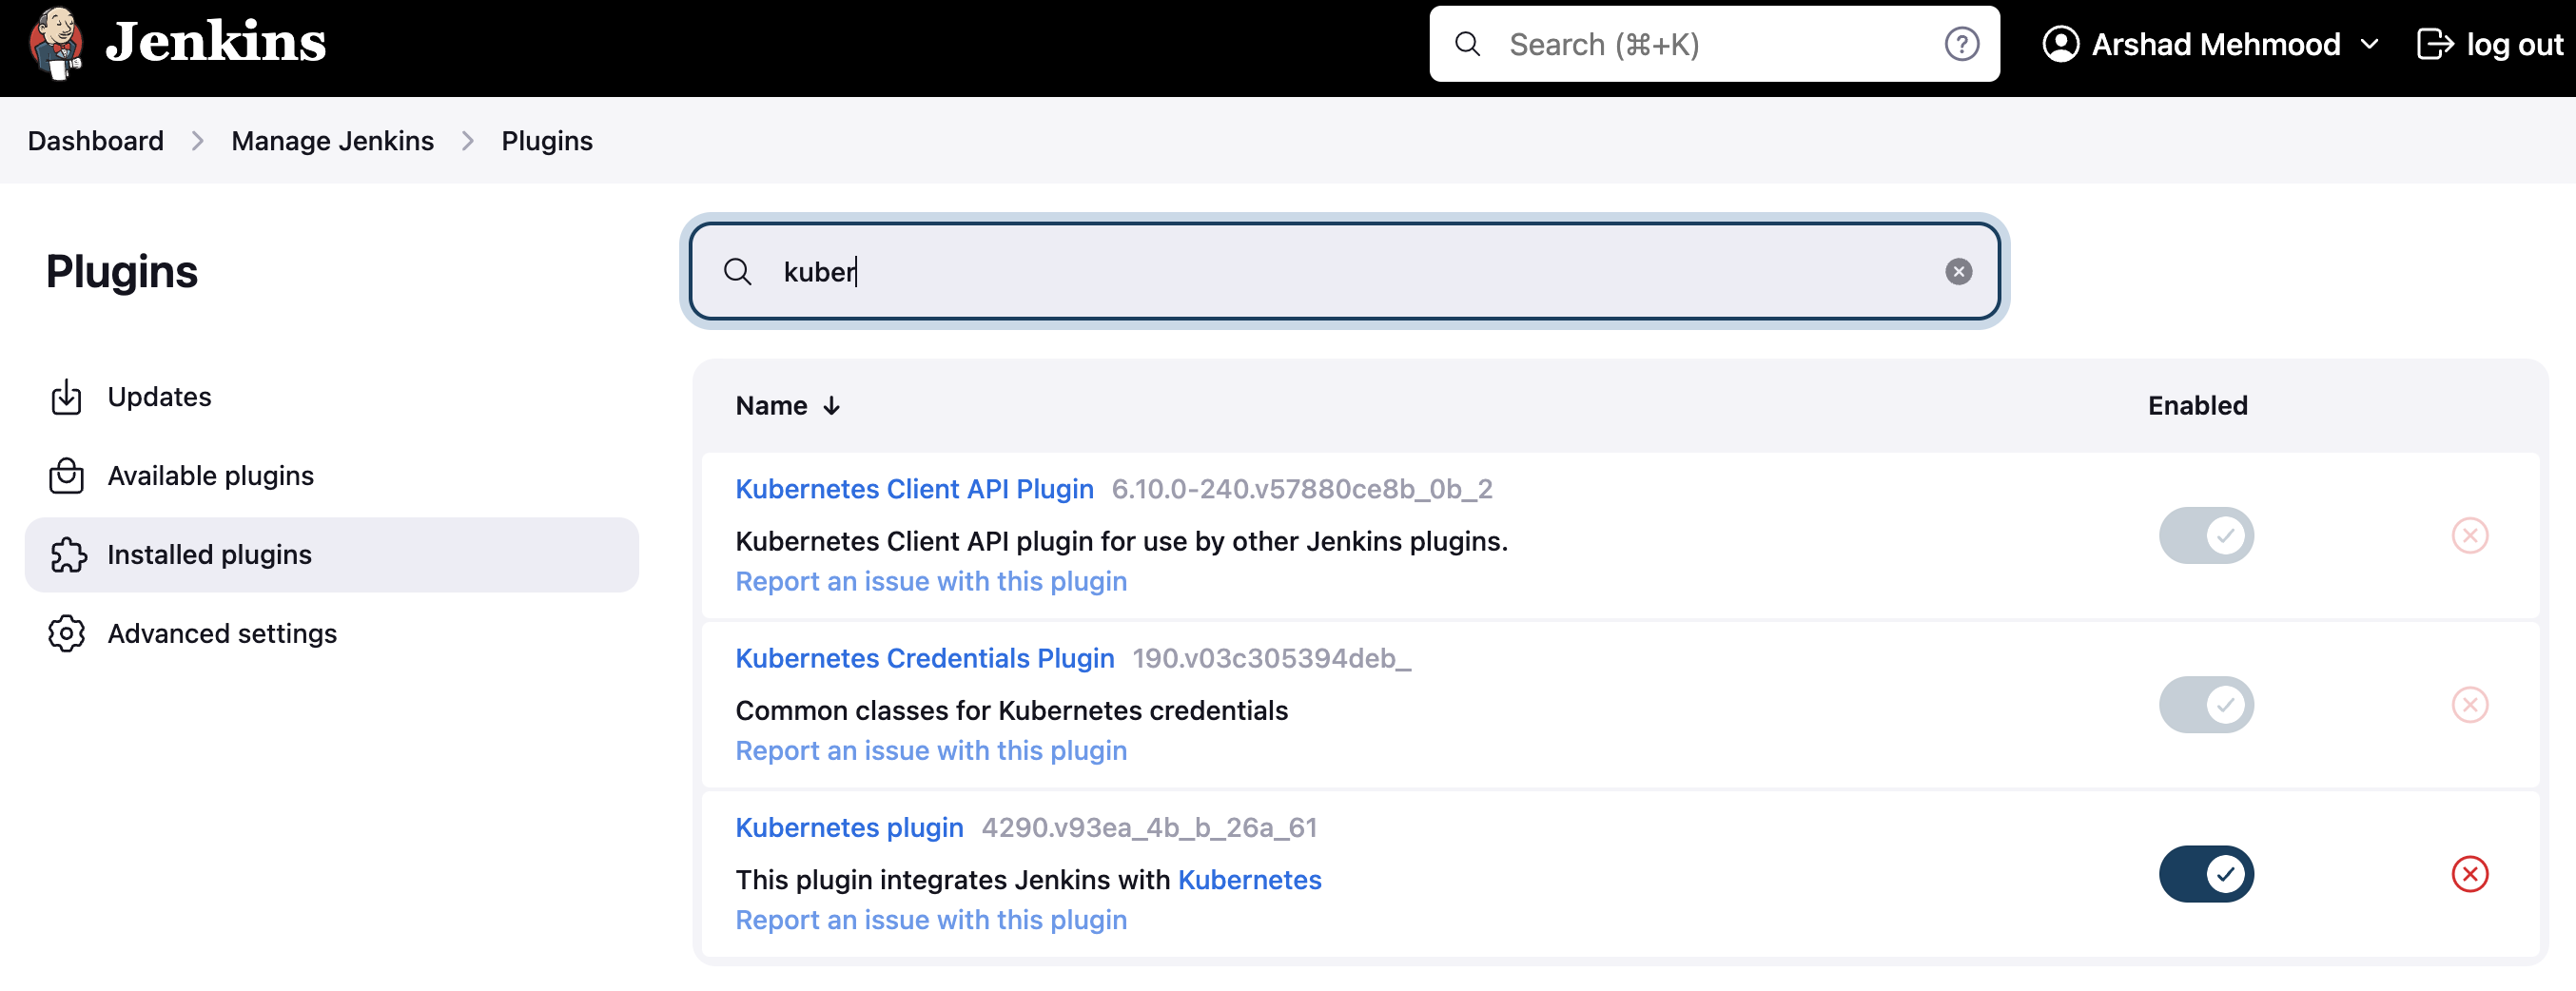
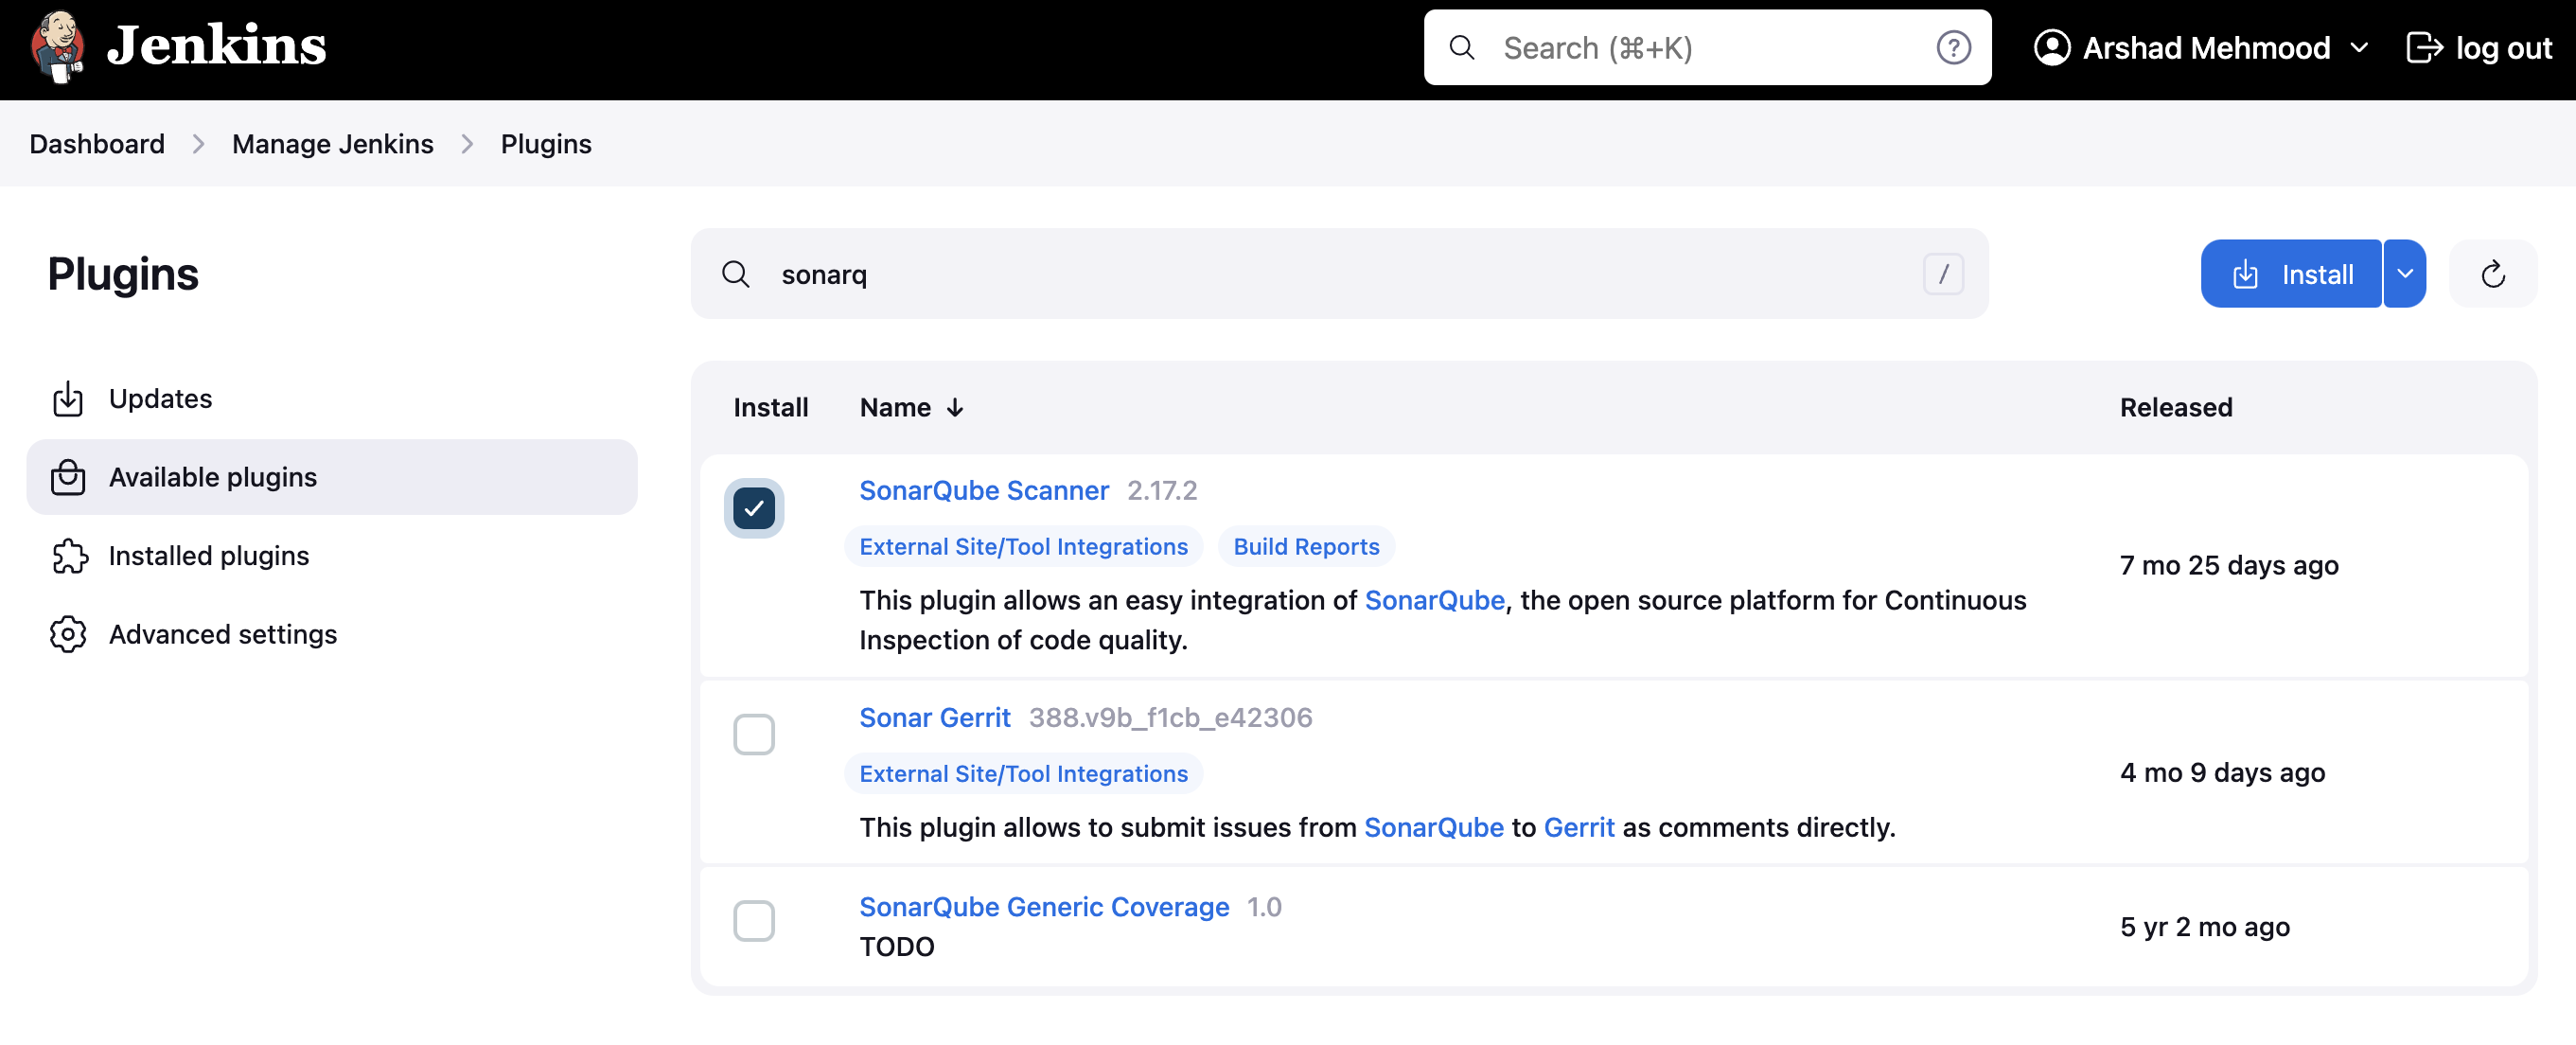
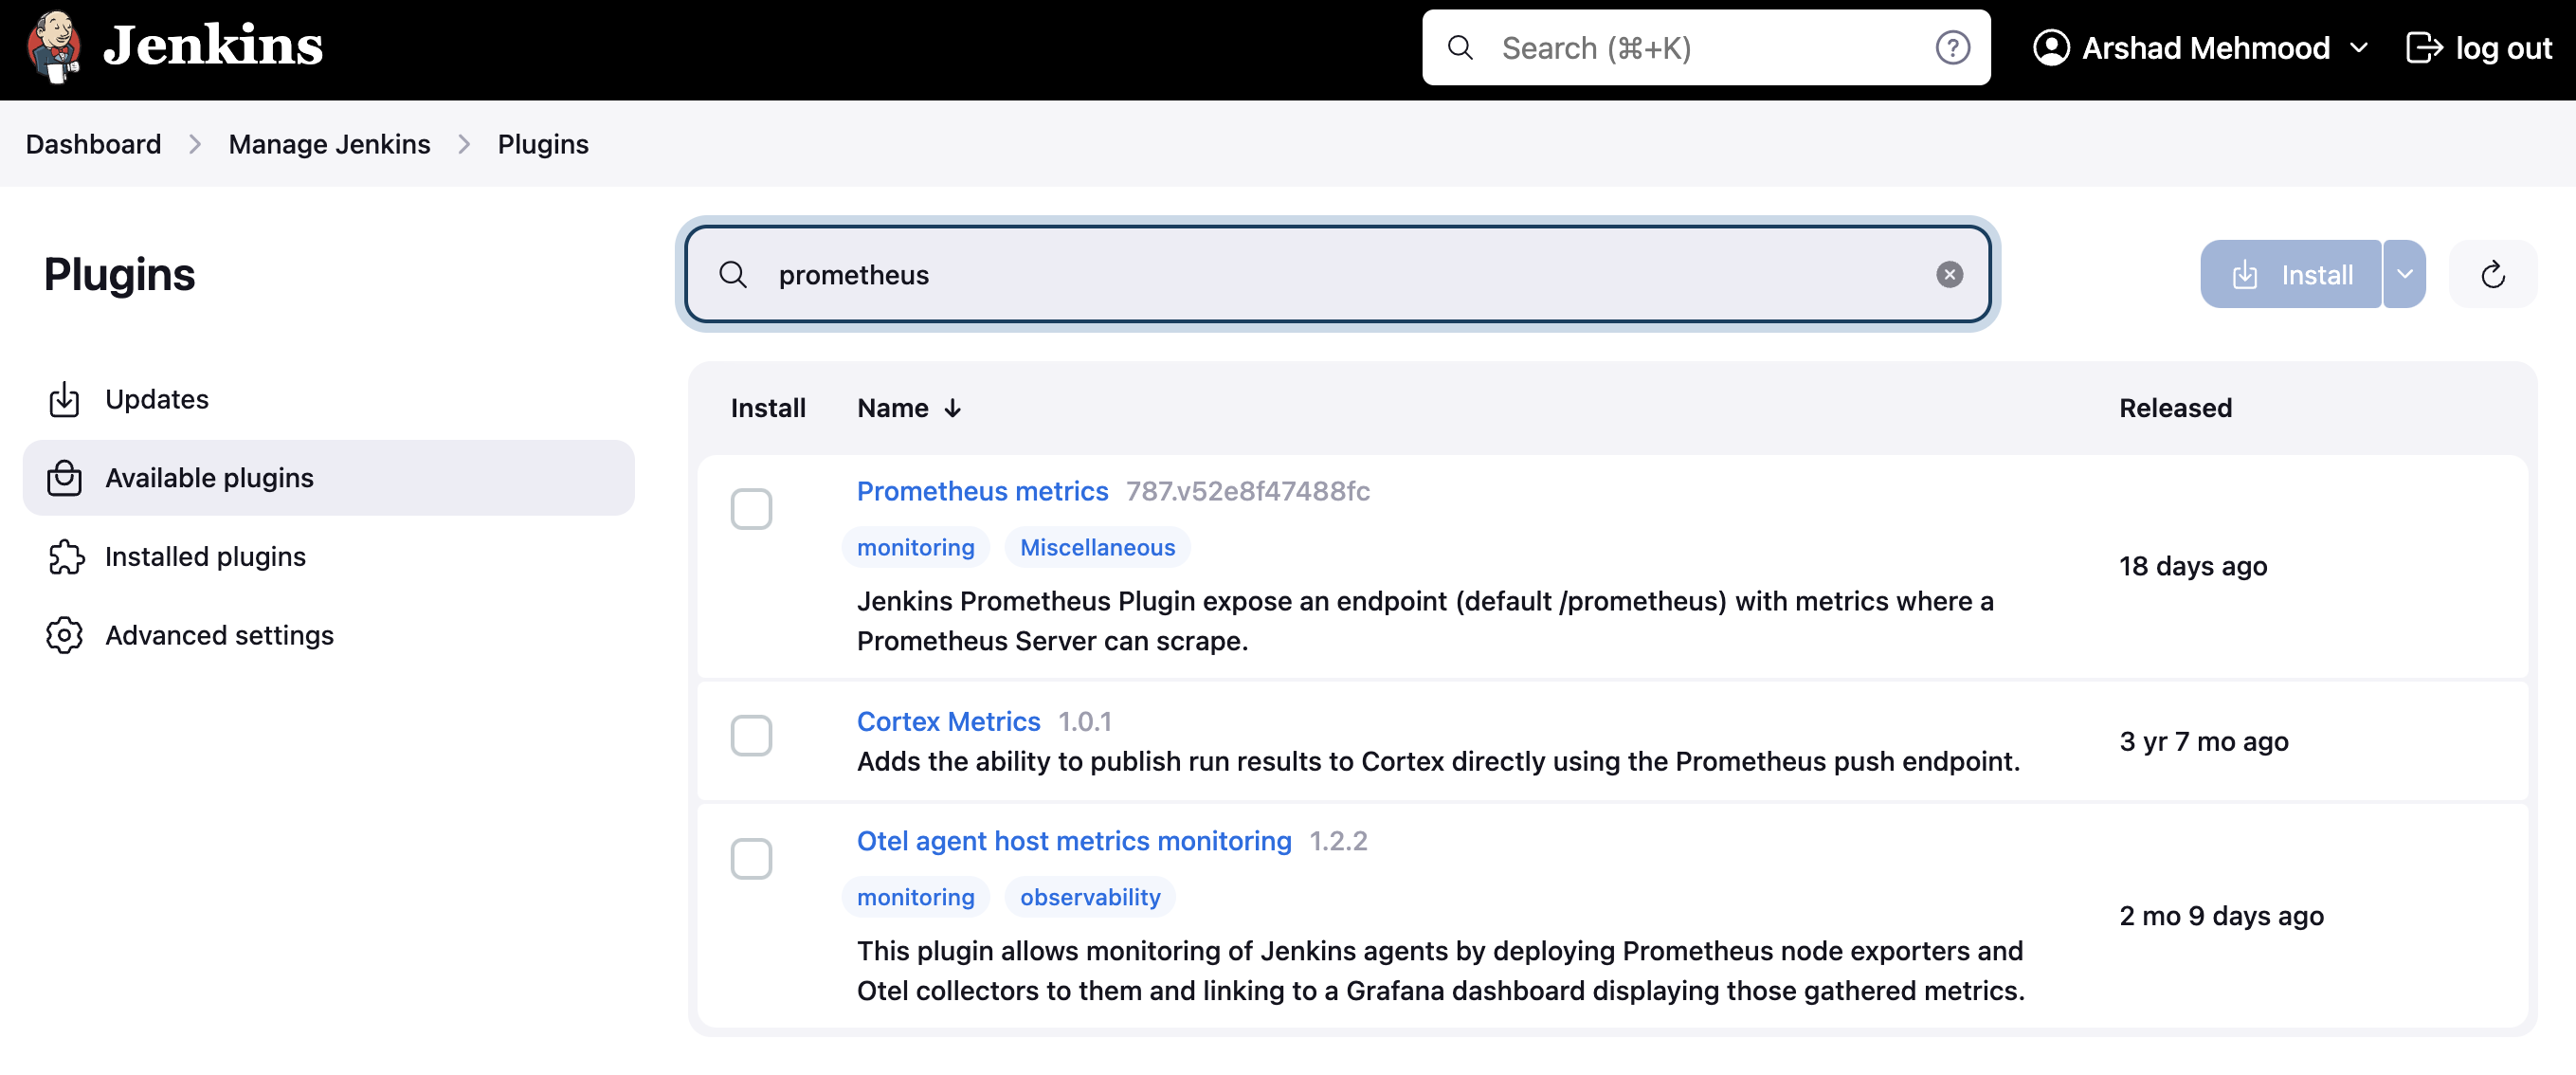
Install the Kubernetes Plugin
- Go to Jenkins Dashboard → Manage Jenkins → Manage Plugins
- Search for “Kubernetes” plugin and install it
- Restart Jenkins if required
Configure Kubernetes Cloud
- Navigate to Manage Jenkins → Configure System
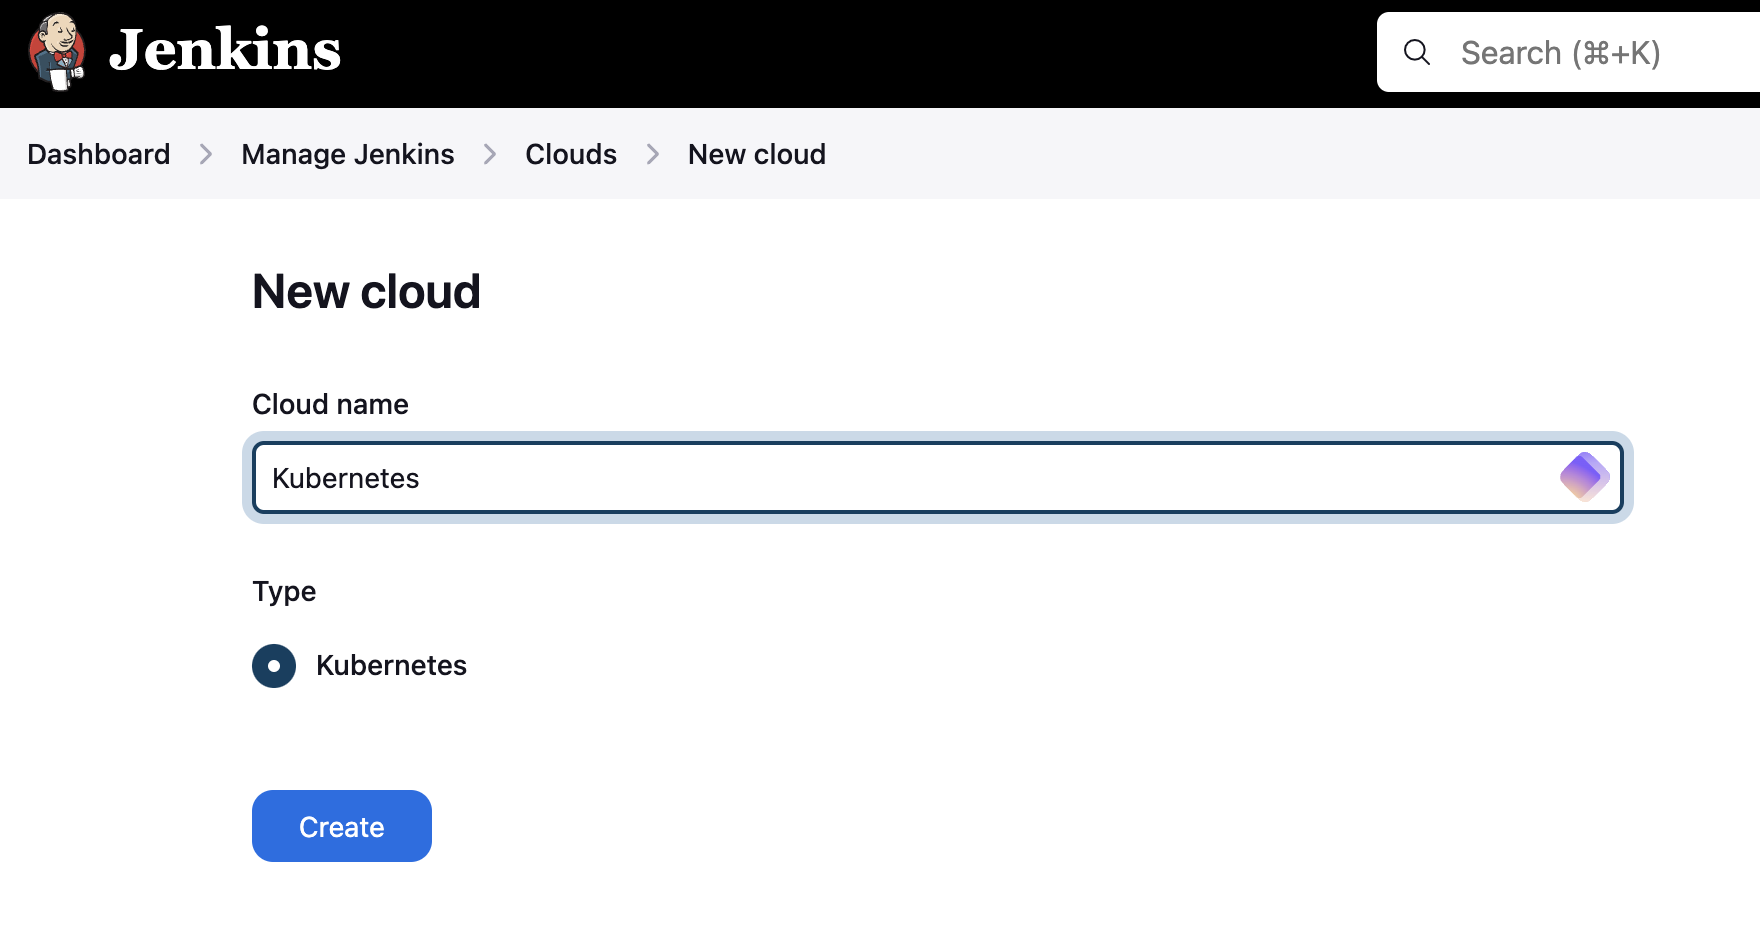
- Scroll down to “Cloud” section and click “Add a new cloud” → “Kubernetes”
- Configure the following settings:
Kubernetes Cloud Details:
- Name:
kubernetes - Kubernetes URL:
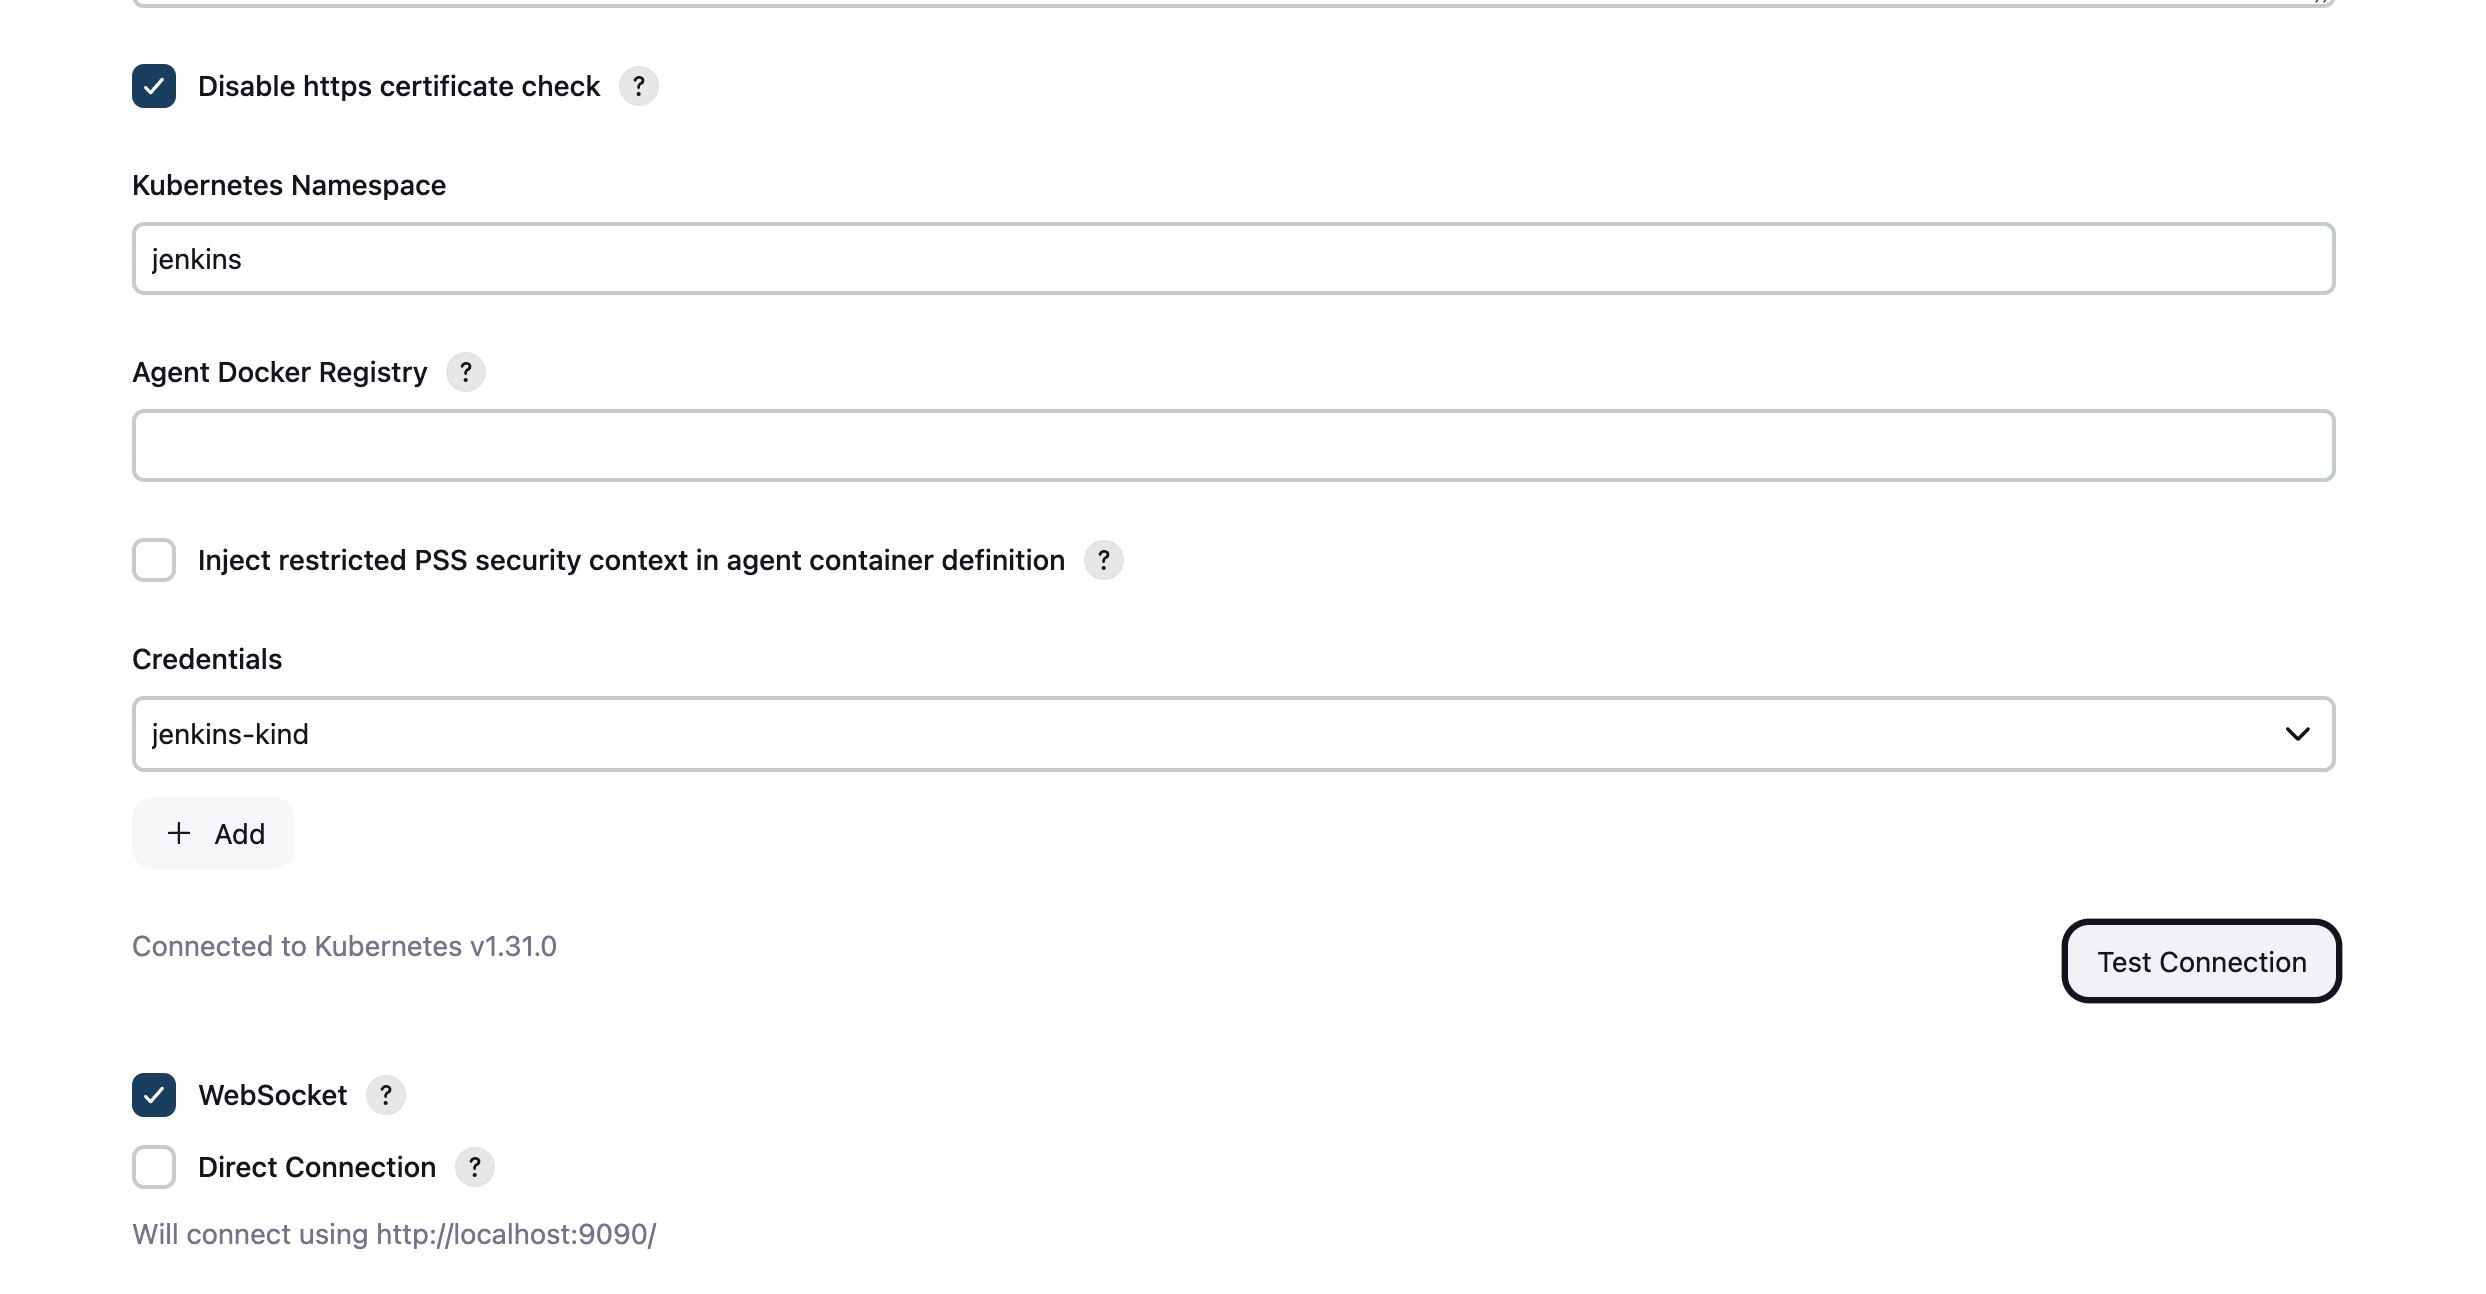
https://127.0.0.1:53850(from our Kind cluster) - Kubernetes Namespace:
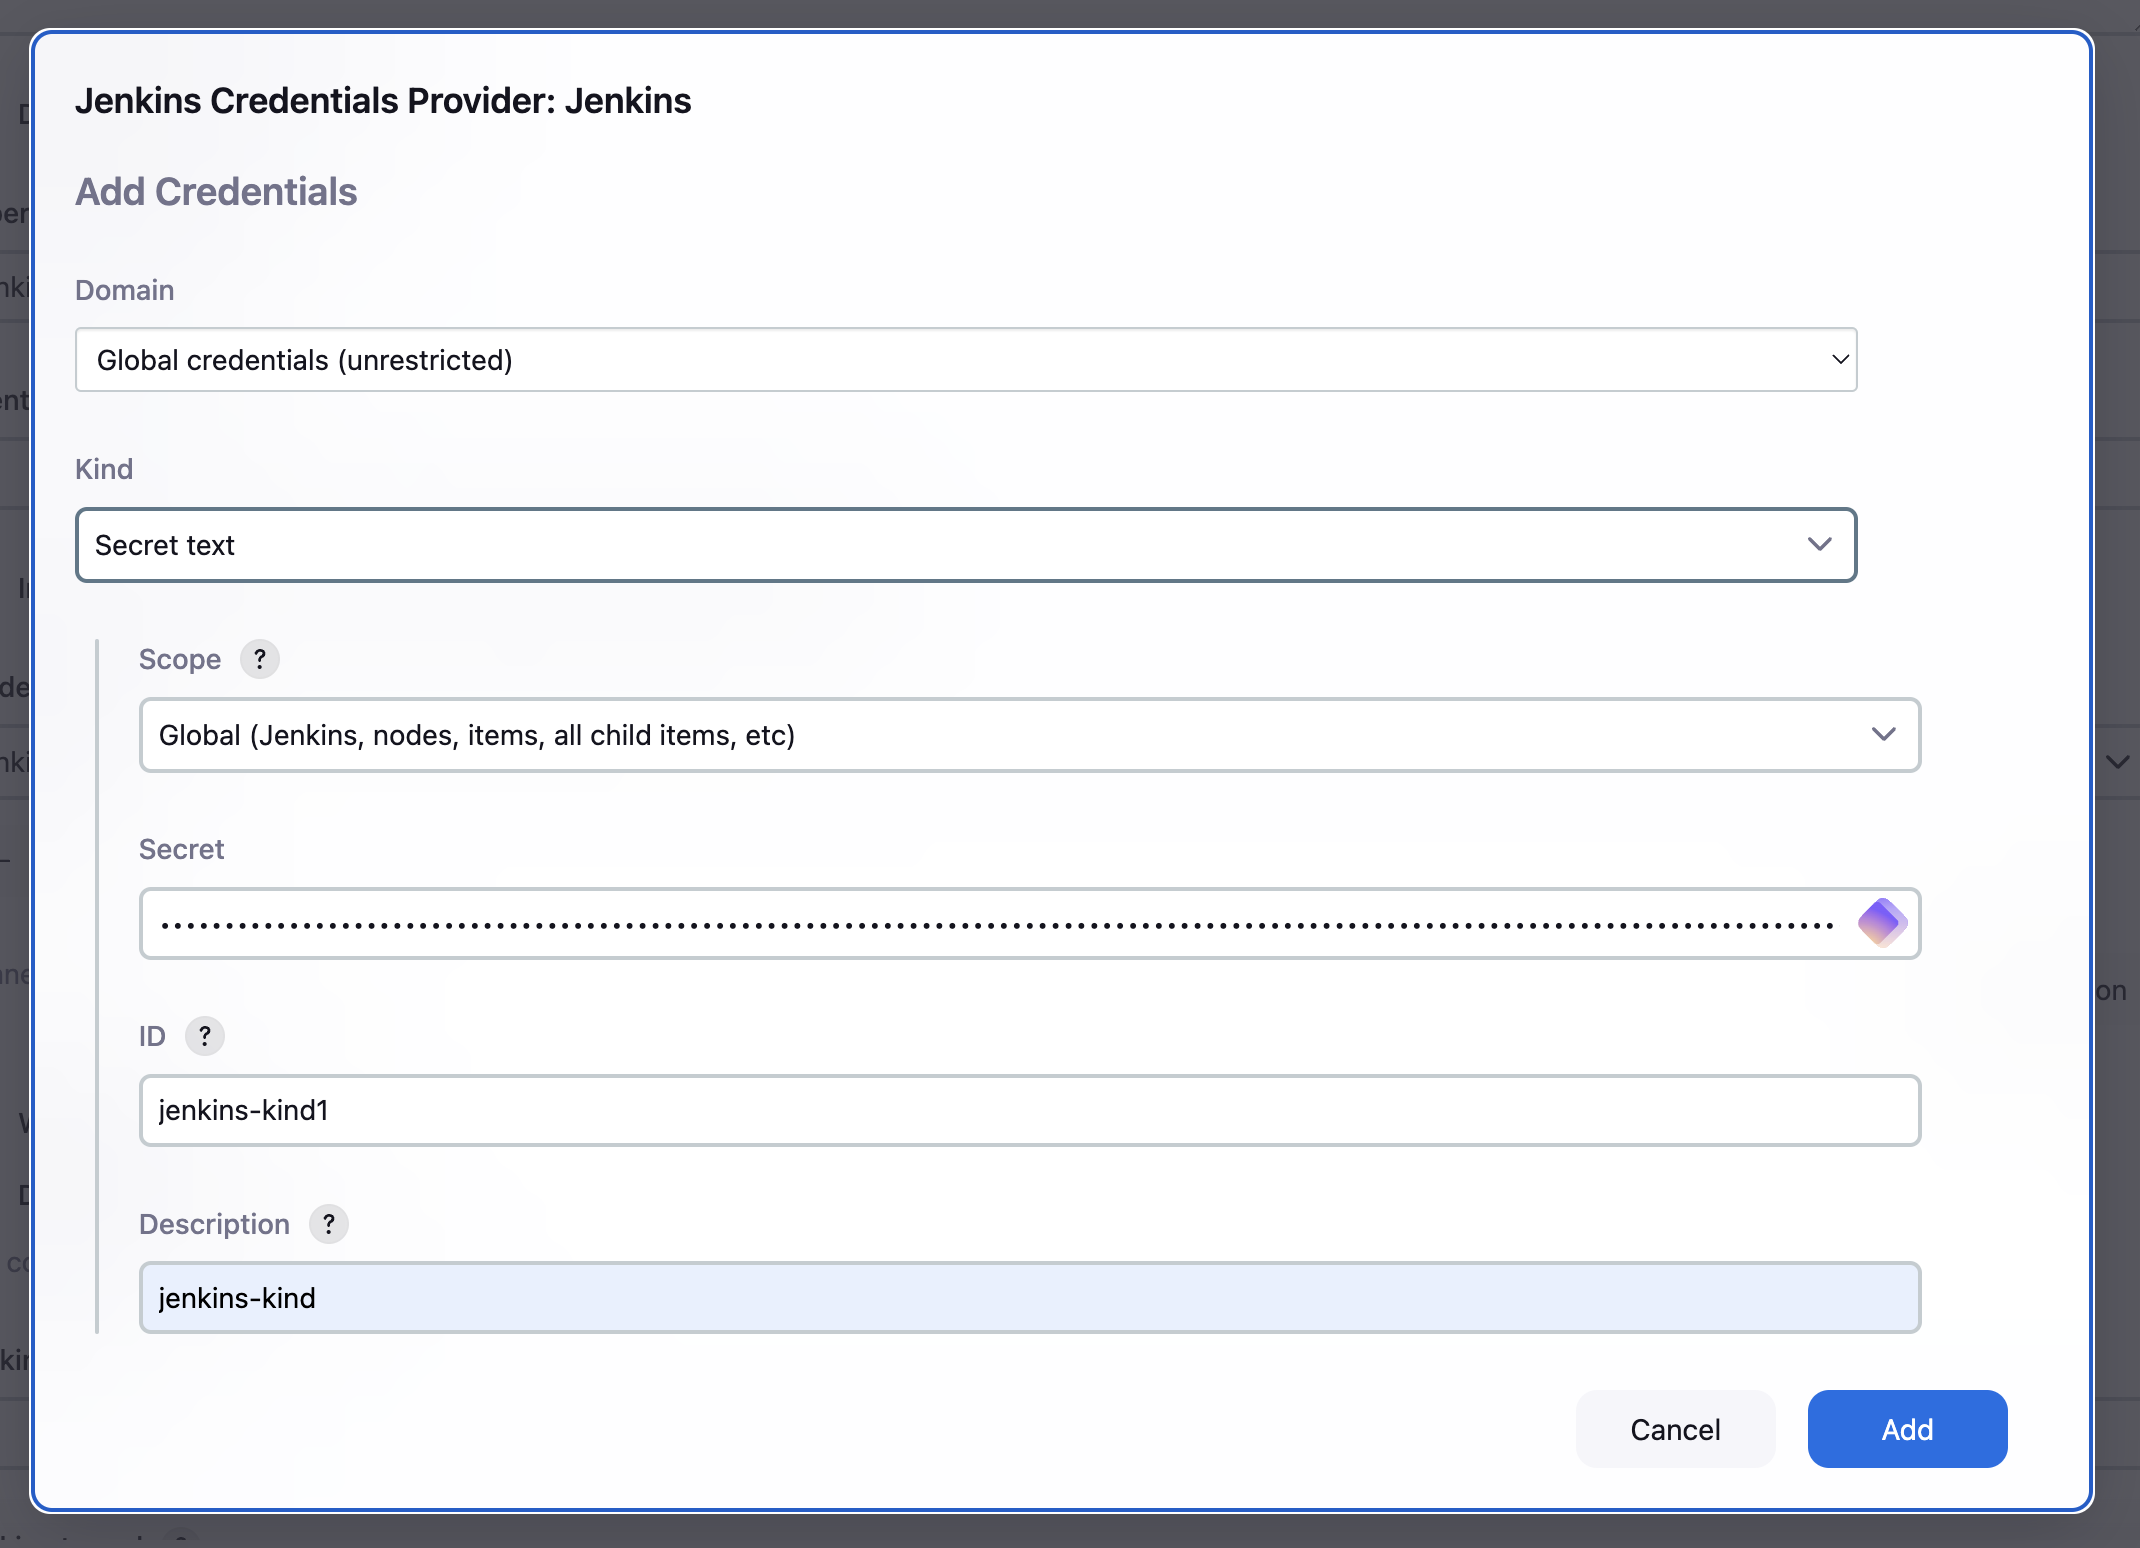
jenkins - Credentials: Add → Jenkins → Secret text
- Secret: (paste the token we created earlier)
- ID:
kubernetes-token - Description:
Kubernetes ServiceAccount Token
Test Connection: Click “Test Connection” to verify the setup.
Create Pod Template
In the same Kubernetes cloud configuration:
- Scroll down to “Pod Templates” and click “Add Pod Template”
- Configure:
- Name:
jenkins-agent - Namespace:
jenkins - Labels:
jenkins-agent - Usage: “Use this node as much as possible”
- Name:
Container Template:
- Name:
jnlp - Docker Image:
jenkins/inbound-agent:latest - Working Directory:
/home/jenkins/agent - Command to run: (leave empty)
- Arguments to pass: (leave empty)
Volume Mounts: Add if needed for Docker-in-Docker or specific tools.

Test Dynamic Agent
Create a simple pipeline to test:
pipeline {
    agent {
        kubernetes {
            label 'jenkins-agent'
        }
    }
    stages {
        stage('Test') {
            steps {
                sh 'echo "Running on Kubernetes agent"'
                sh 'kubectl version --client'
            }
        }
    }
}
The Jenkins agent pod will be created automatically in the Kubernetes cluster when the pipeline runs and destroyed after completion.
Verification
- Check pods in the jenkins namespace:
kubectl get pods -n jenkins - Monitor Jenkins logs for any connection issues
- Verify agents are created and destroyed dynamically
This setup provides scalable, on-demand Jenkins agents using Kubernetes resources efficiently.
Leave a comment